


Getting your nails done these days can be quite a luxury. While lockdown restrictions have eased up enough for salons to start catering to people, there are still some who don’t feel confident enough to have close contact with other people, especially strangers.
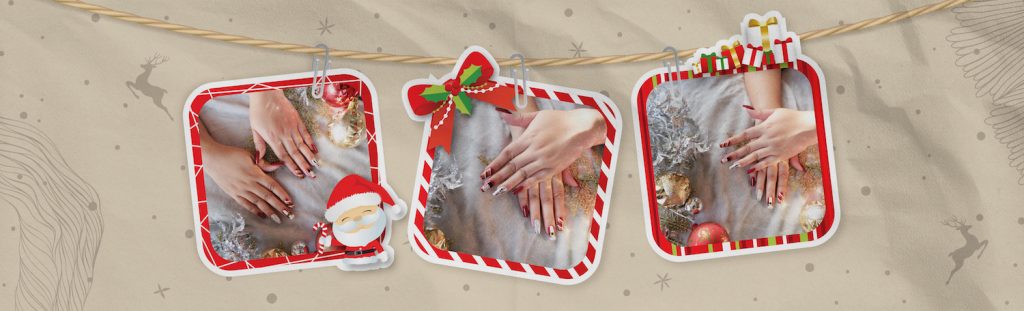
But that’s no excuse not to experiment with a fun manicure, and the holiday season can be the perfect excuse to practice your nail art techniques! We talk to home-based nail artist Lynn Avrille for some fun Christmas designs to ease you into getting creative with your nails. Here are some inspos to get you started.
What You Need:
- Nail polishes in colors of your choosing
- Basic nail tools like a nipper, nail cutter, cuticle pusher, and a nail file
- Dotting tools like these, or ones that also have nail art brushes like these. They can be cheap, but as alternatives, orange sticks or even toothpicks can work just as great, especially if you’re still practicing!
- Acetone and a clean-up brush
- Lots of patience and a stable surface to work on
- Creativity
All About That Base
To make sure your hard work lasts, start off with a good base, and that means prepping your nails. Cut your nails to the length you prefer, push down those pesky cuticles, clip off hangnails where necessary, and file and buff until you have an even surface and smooth edges. Top it off with a base coat.
Lynn works with gel nails, so if you have a UV lamp and some gel polish handy, the trial-and-error process is easier because you can just wipe your mistakes off with every layer. But if you’re using regular polish, make sure to work fast while you’re doing your design, then take time to dry each layer before moving on to your next steps.
Solid State
Still hesitant about going full nail art? Your choice of a nail polish color can be quite festive already! For this article’s content, we opted for a cheerful red hue with some fine sparkles and a more glittery eye-catching silver, but you can play around with other metallic colors and fun combinations, especially with an accent nail.
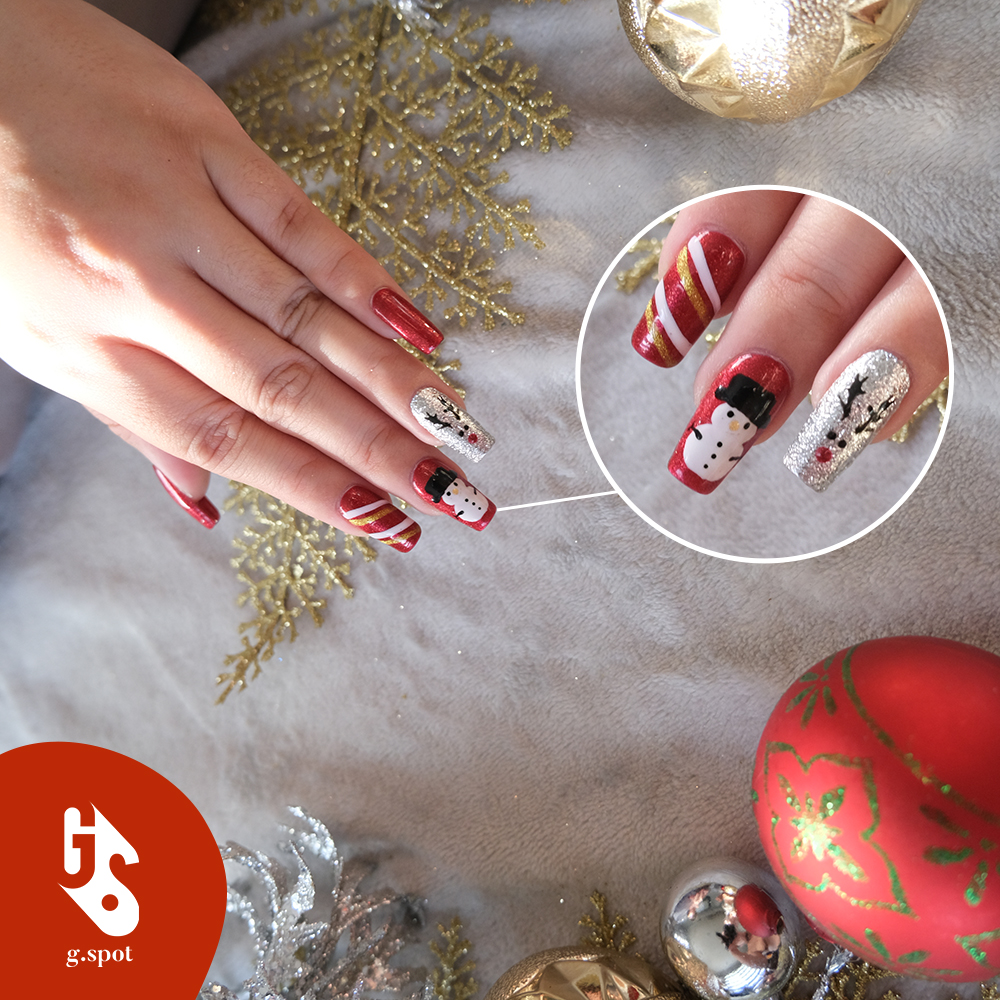
Lining Up for Gifts

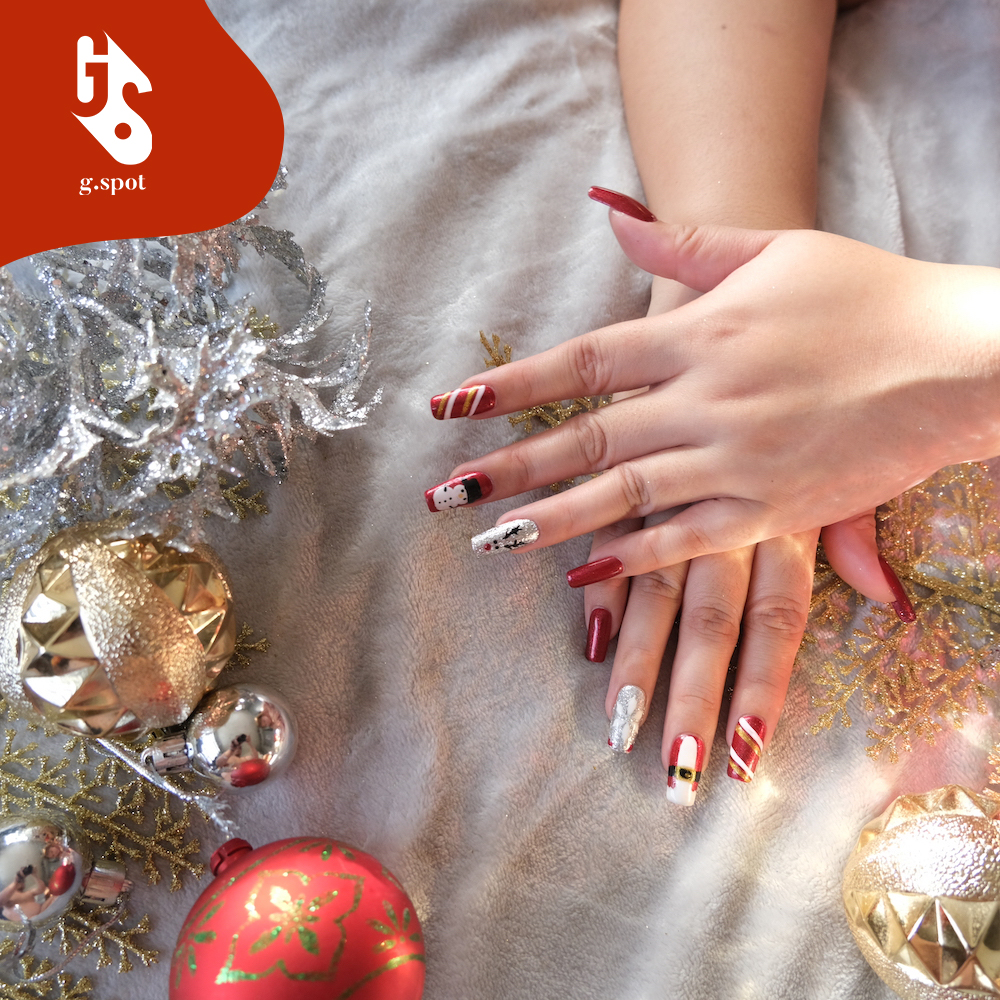
Lines are some of the easiest, basic nail art hacks you can do. Emulate the stripes of a wrapped gift with some diagonal lines in contrasting colors. Here, we use gold and white nail polish against the red base layer.
Using your brush, place some polish onto a clean and smooth plastic surface like an ice cream lid. Then take your nail brush, dotting tool, or a toothpick, and draw a line across the width (or length, or diagonally—you do you) of your nail. Try to do this in one go for a cleaner line.
Here Comes Santa Claus
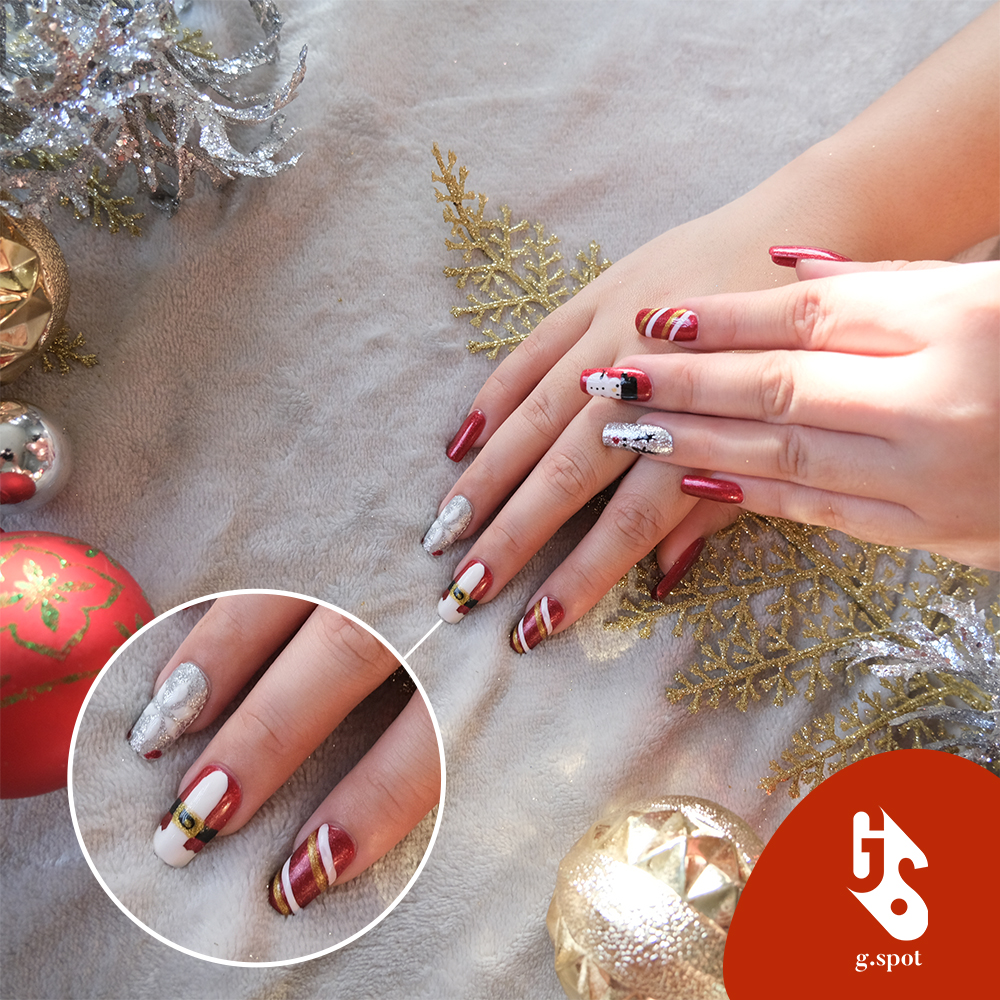
Still with the same principle of lines, you can freehand this easy Santa Claus design! On a red base layer such as ours, draw a thick line using white nail polish along the edge of the nail. Then have another thick line down the length of the nail. Once those two layers are sufficiently dry, draw another line across the width of the nail for Santa’s belt, then top it off with smaller lines in gold for his belt buckle.
Rudolph the Red-Nosed Reindeer
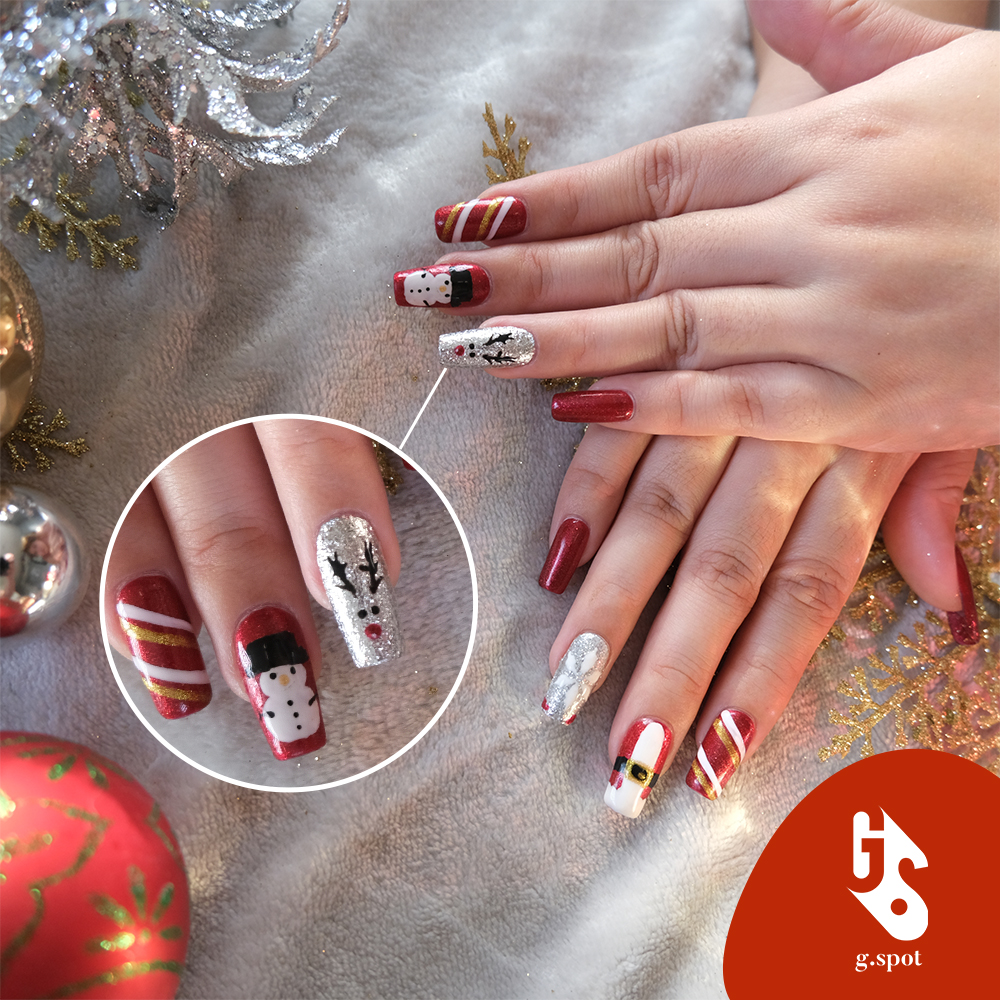
If you want to try your hand at freestyling but want to keep it easy, this reindeer design is a great place to start. All you need is a dotting tool or the end of a toothpick to dot the eyes and the red nose onto your nails.
The tricky part comes with the antlers. Using a thin brush or a toothpick, draw two fine, diagonal lines above the eyes, then spread it out in even finer lines to create the antler designs.
Special Snowflakes
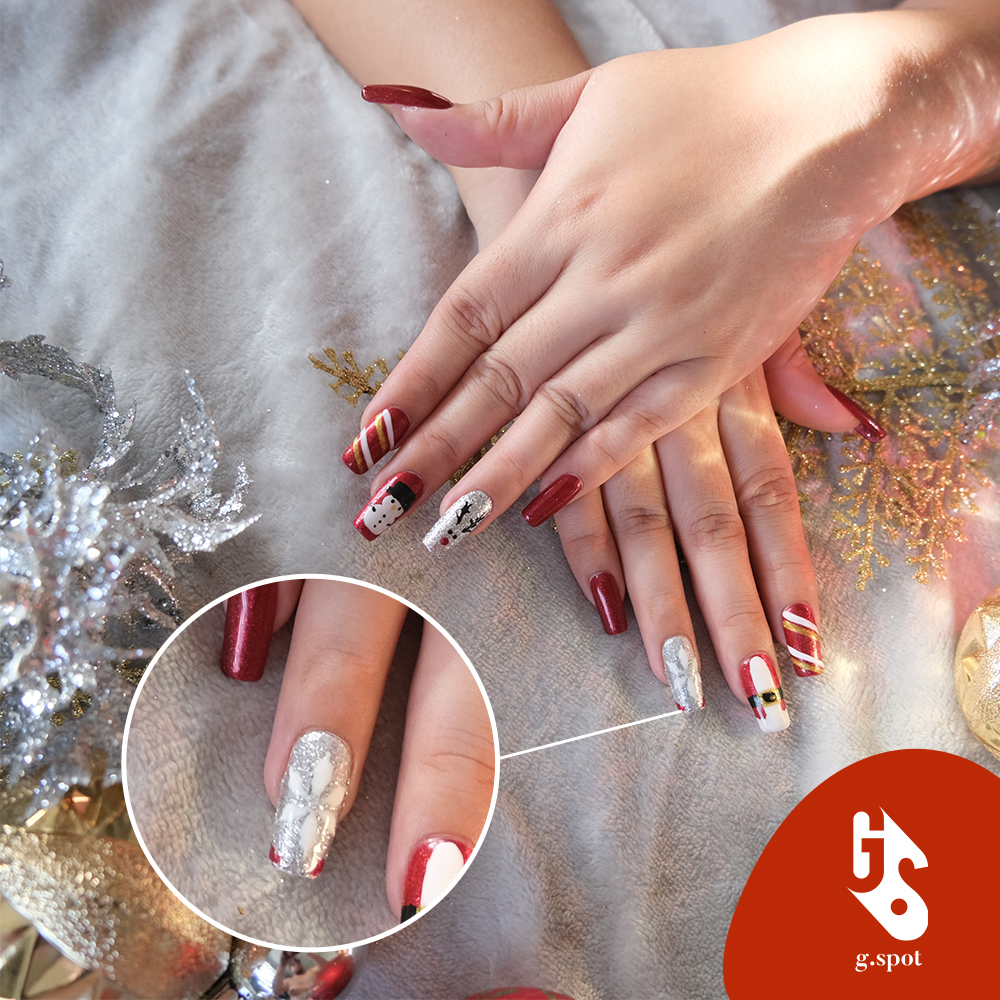
For a more subdued, yet still Christmassy #lewk, try creating a snowflake. Using a dotting tool or the end of a toothpick, ‘dot’ polish of even amounts in a circle, then use the same toothpick or a nail brush to spread out the polish gently into a snowflake pattern.
Frosty the Snowman
Hey, if you’re doing holiday nails, why not go all out, eh? This snowman is relatively easy to do. With your tools, create two solid circles using white nail polish, making sure one circle is bigger than the other. Then take some black polish and create the snowman’s top hat using some fine lines.
Finish the design by using your dotting tool to draw the eyes, the nose, and the buttons down the snowman’s body. You can also draw on his arms to make it even more detailed.
Nail art can be challenging, but there’s nowhere else to start than simply trying, and with the holiday breaks, there’s time to practice. Take it easy on yourself and allow room to improvise — it can lead to your own unique designs and a level up in your skills.
To see more nail art inspiration, follow Lynn Avrille on Instagram at @naileditcebu and on Tiktok at @layvrille. If you’re comfortable getting your nails done, you can also book her for home appointments by sending her a message.
Photo Credits: Alfonso Taboada